Three boards of the same thickness and width, joined together to make a bench: I find this form compelling.
I’ve built it five times since I started to make things out of wood two years ago. Each repetition is a kind of snapshot —the form remains constant, but the materials, tools, and skills evolve.
My intention with this “woodworking process log” is to record notes as I go. But I figured a highly abbreviated timeline of what has occurred thus far would be a nice place to start.
November 2022
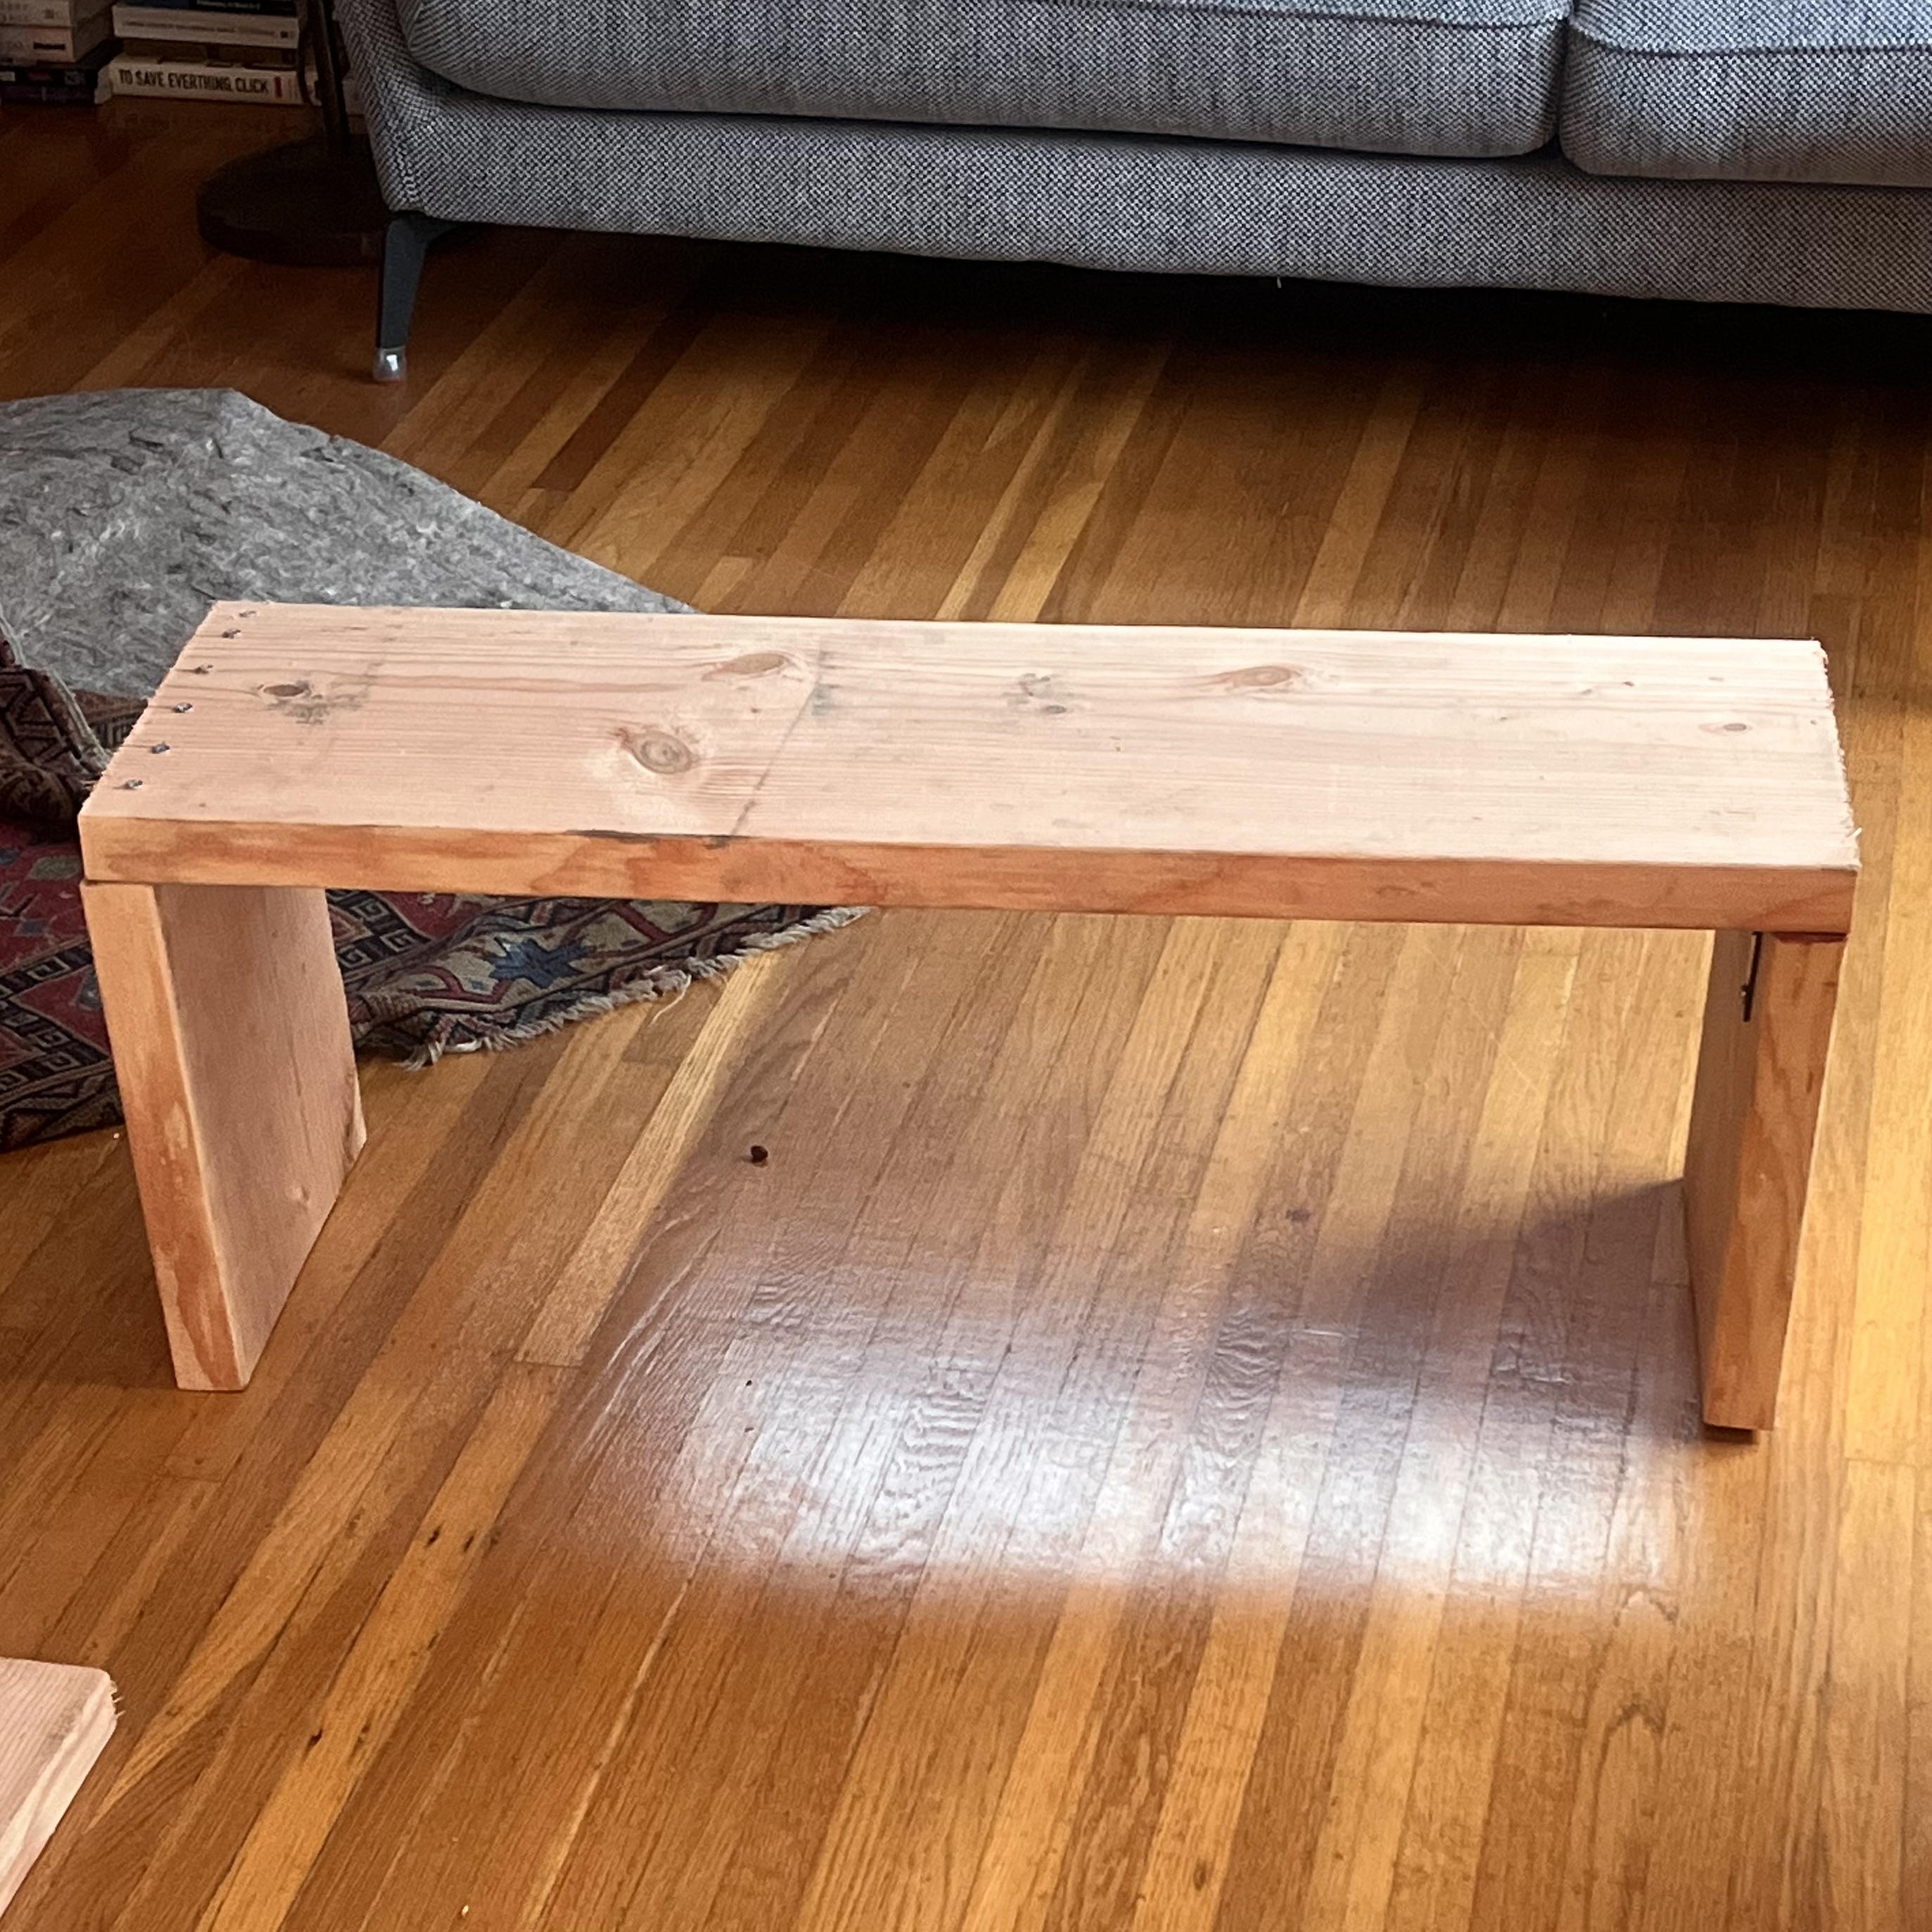
Material
- Douglas fir from Ashby Lumber
- Some random screws
- 2 steel brackets
Tools
- Irwin hand saw from Ace Hardware
- DeWalt hand drill
- Ikea desk [as workbench]
- Pencil and ruler
Notes
Well…I think the photo speaks for itself. The legs are not even, the sides are not joined in a uniform way, the cuts are scraggly and imprecise. And yet! And yet. There was still a satisfaction in creating a place to sit with my own two hands.
December 2022
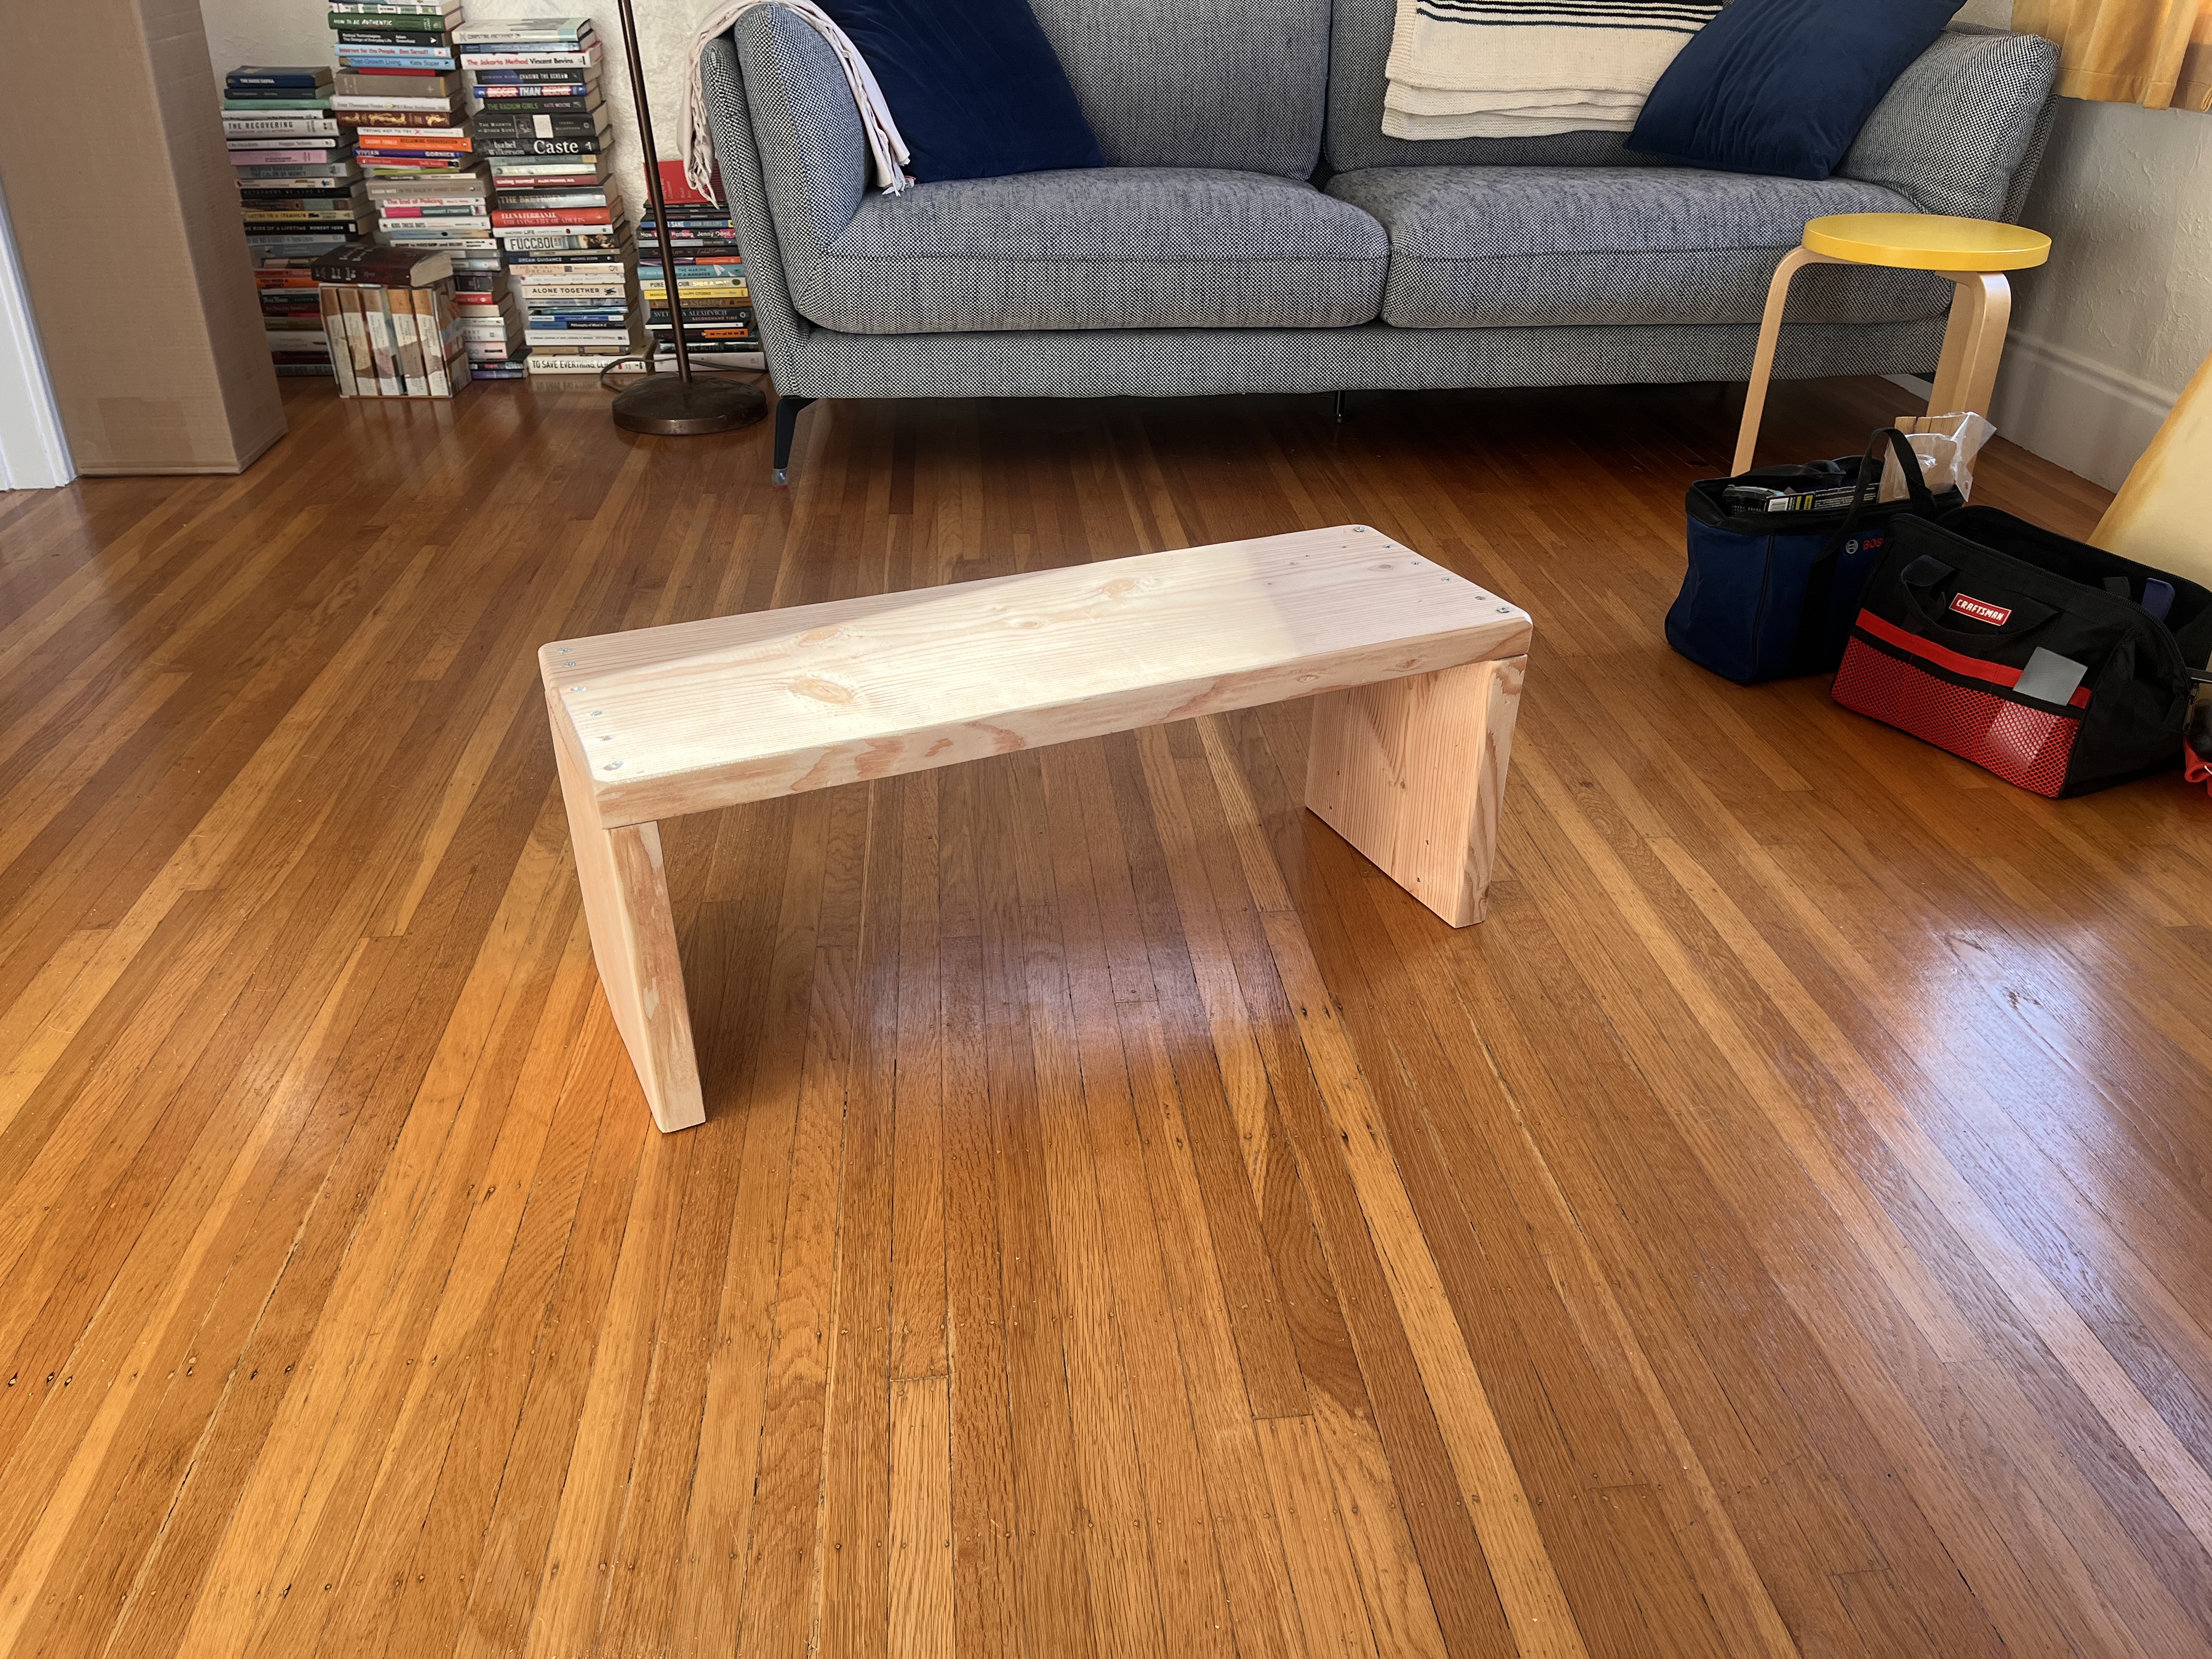
Materials
- More Douglas fir from Ashby Lumber
- More screws
Tools
- Gyokucho ryoba (Japanese two-sided saw that cuts on the pull stroke) enters the chat
- Black and Decker Workmate….still not totally a bench but trending in the right direction
- DeWalt hand drill
- Pencil, ruler, and now a marking knife
Notes
I have a much happier time sawing with a ryoba! And I abandon the brackets in favor of screws on both sides. The legs look a bit more even here. Still very rough.
March 2023
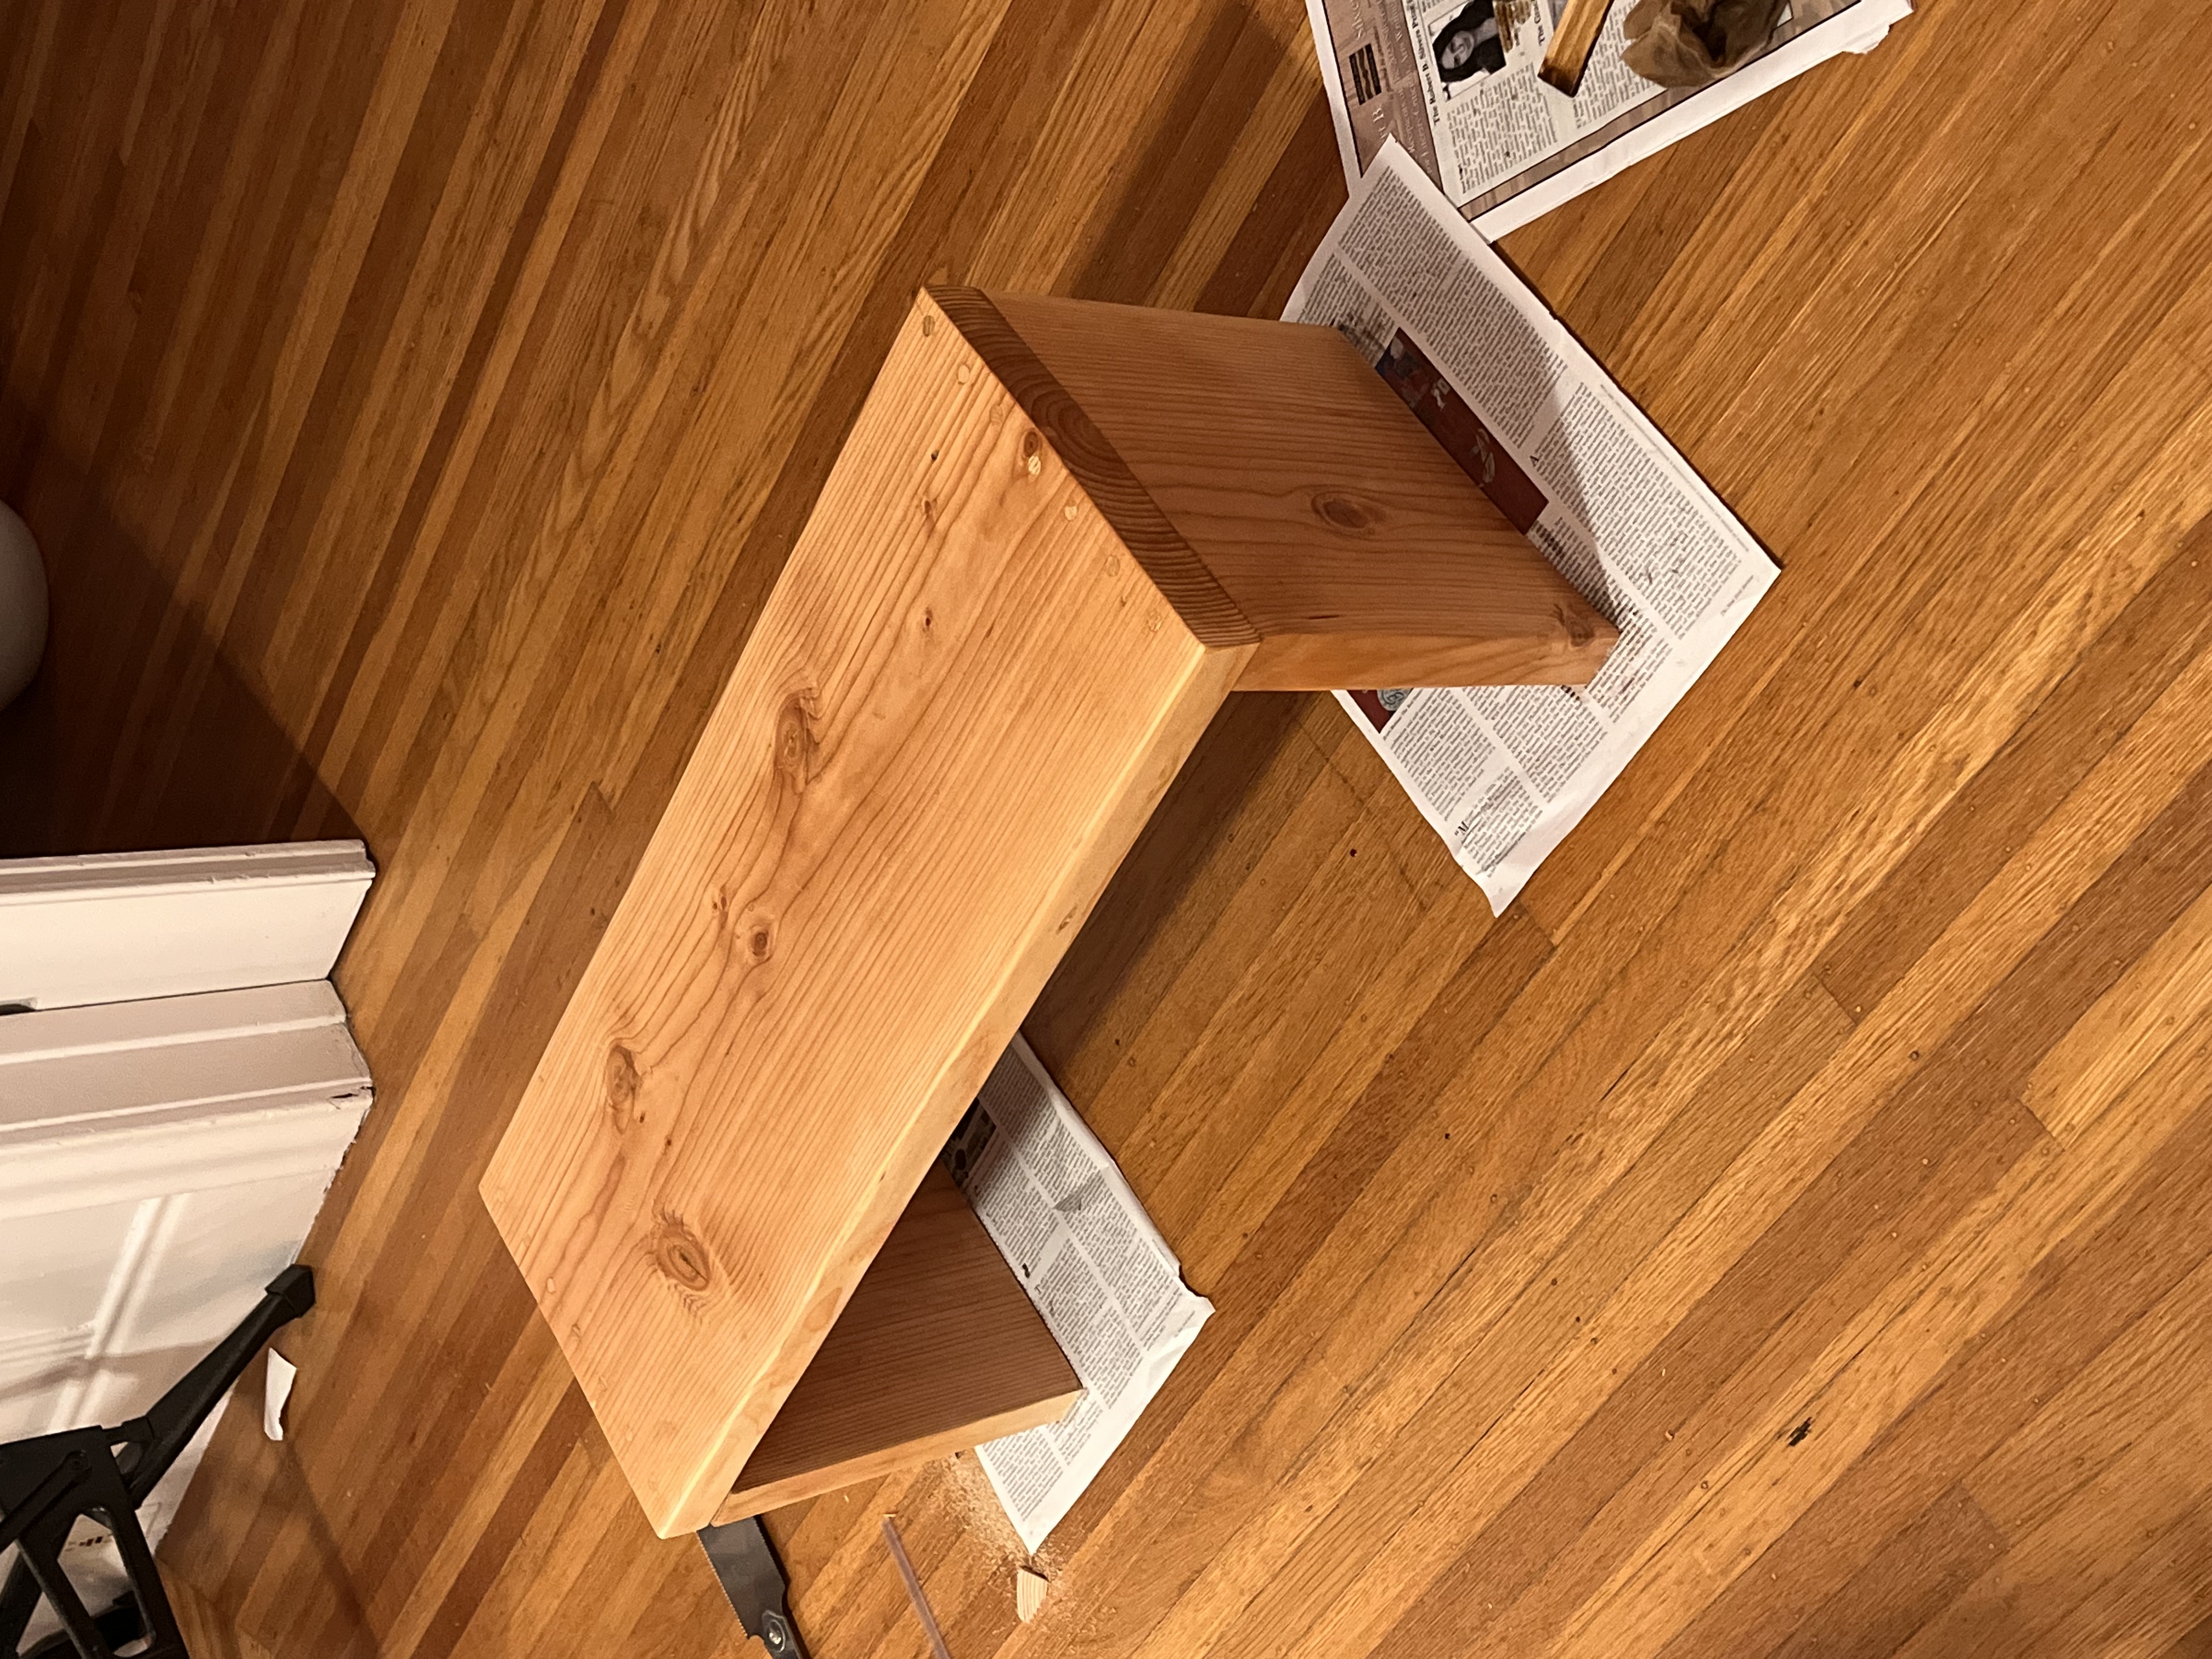
Materials
- More Douglas fir from Ashby Lumber
- GRK screws (a friend who is a carpenter told me “these will make you feel like a god” and she was kind of right)!
- Wood plugs from Rockler
- Some Tried and True stain
Tools
- Gyokucho ryoba
- Black and Decker Workmate
- DeWalt hand drill plus a countersink drill bit from Rockler
- Pencil, ruler, marking knife
Notes
This time I covered up the screws with wood plugs. I also stained the wood. In the present, I find stain quite unappealing. But at the time, I liked how this looked.
April 2023
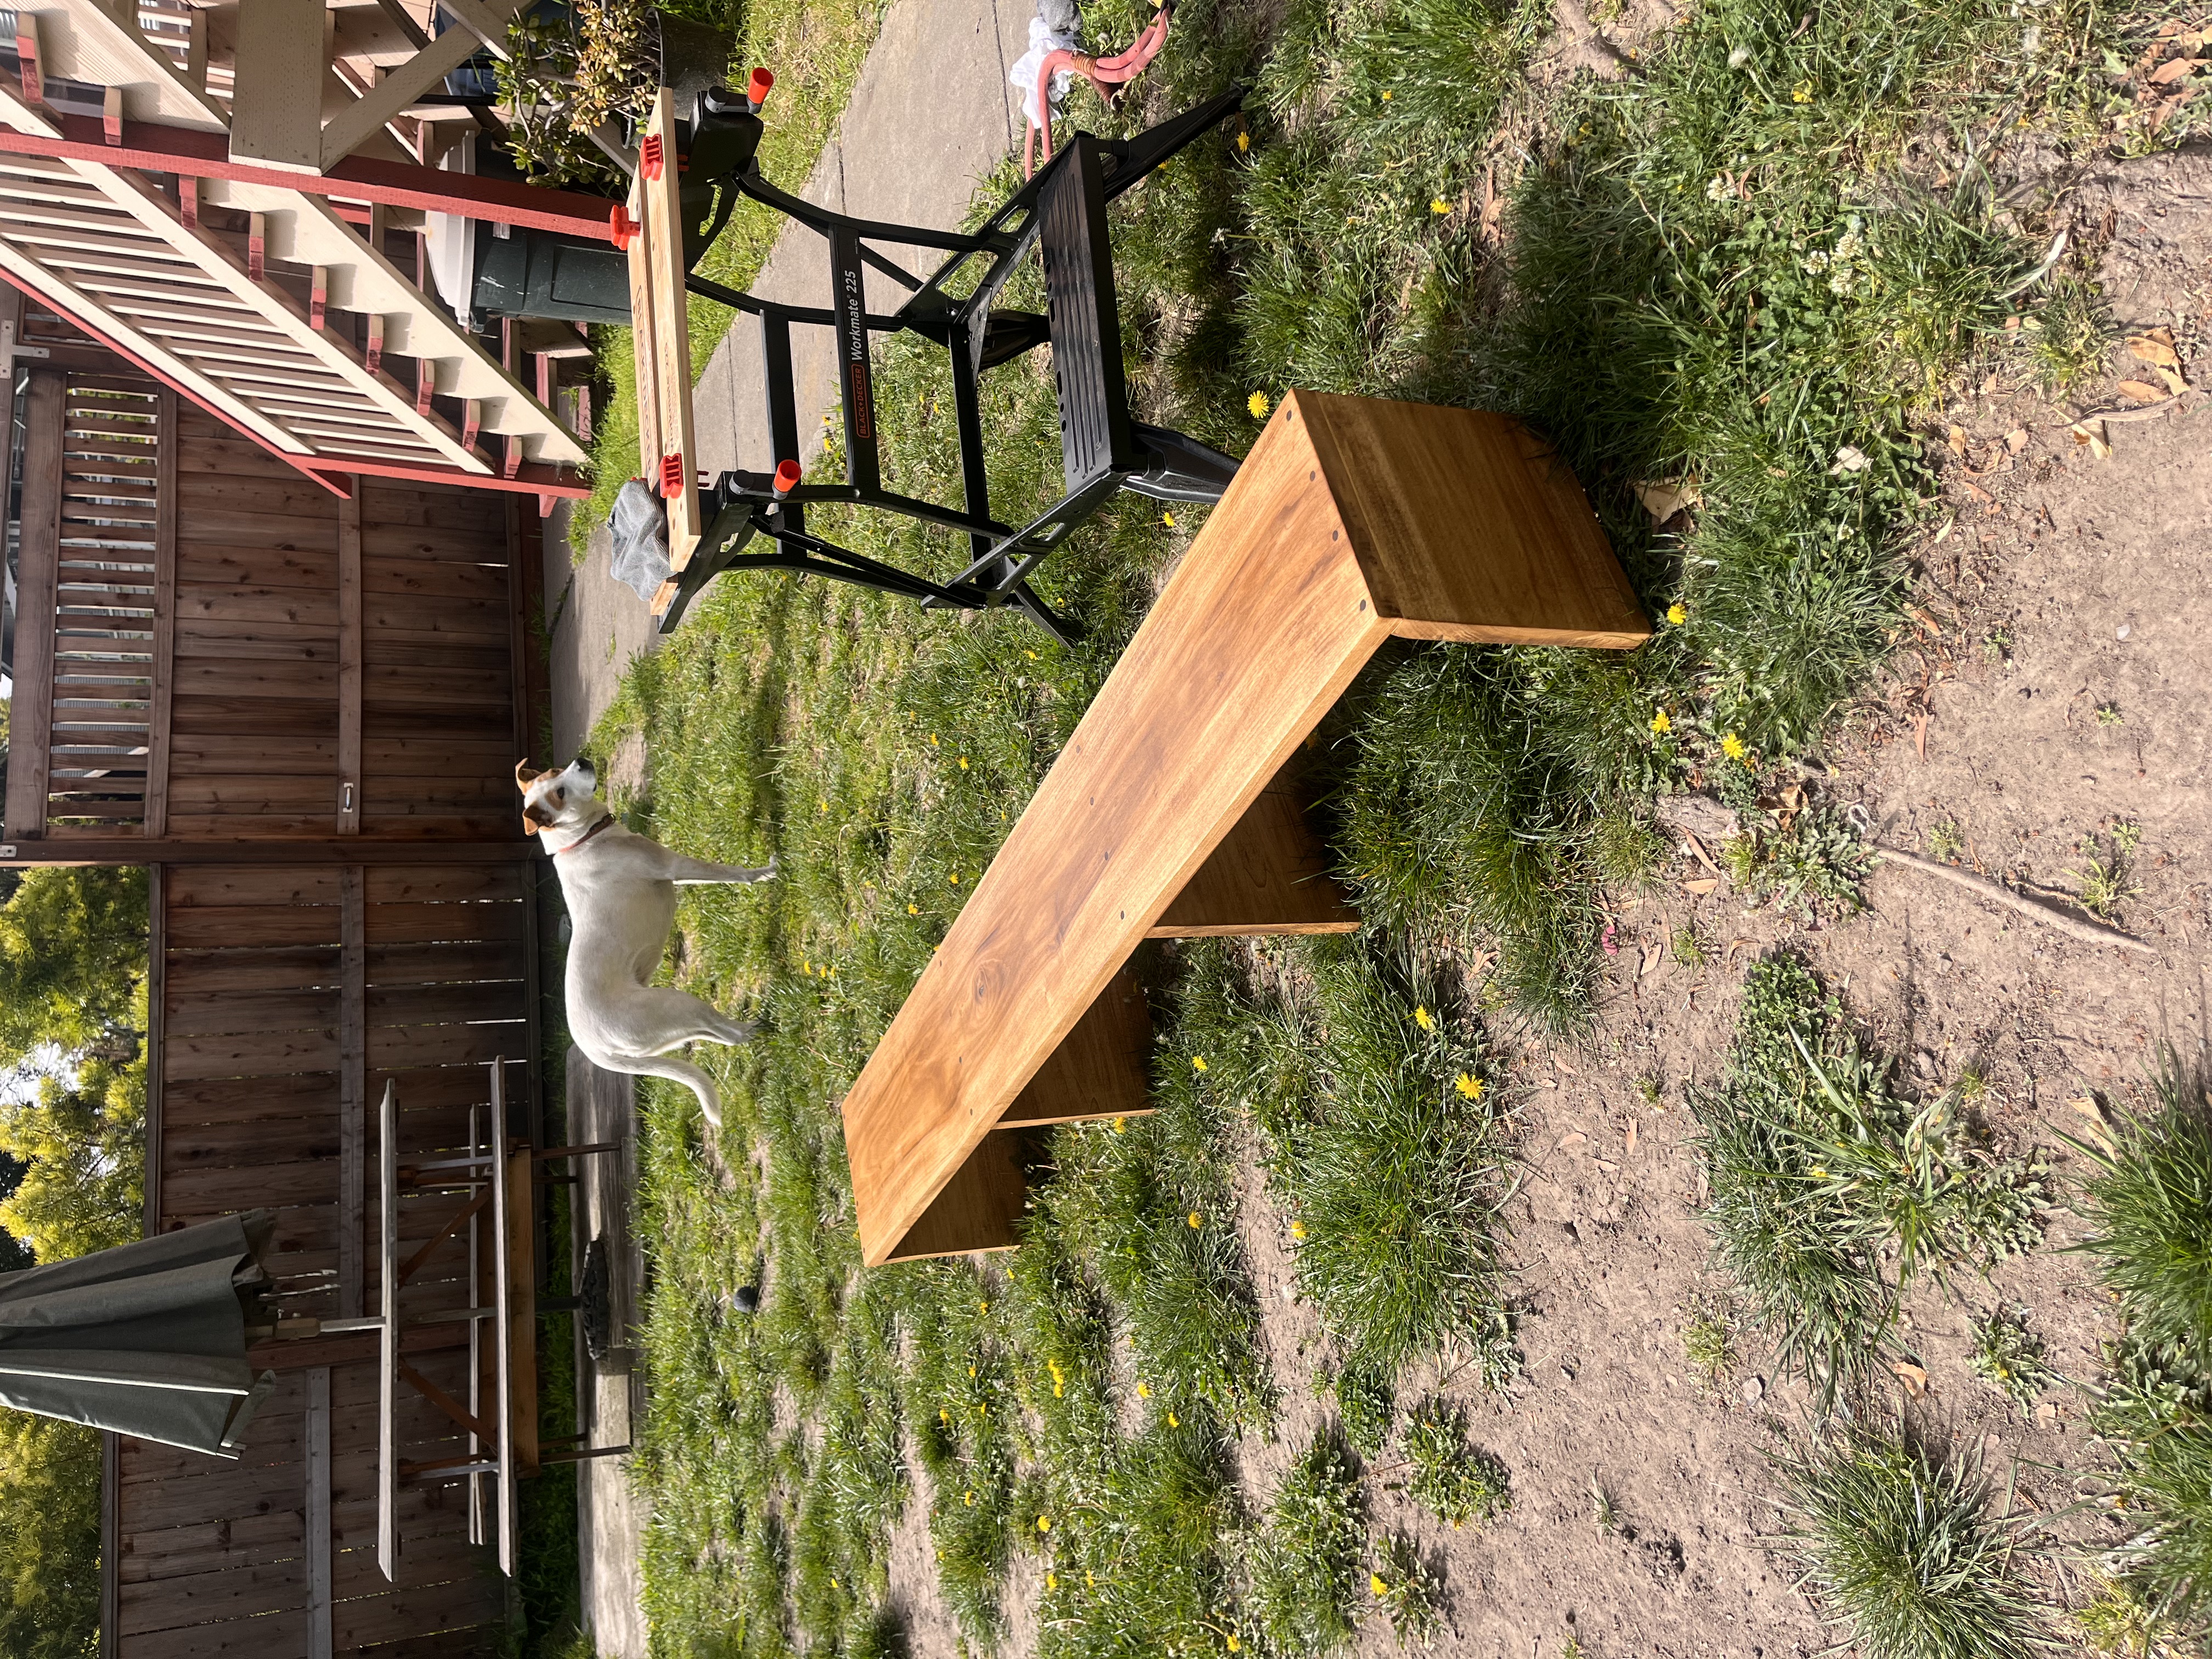
Materials
- S4S poplar from MacBeath hardwood
- GRK screws
- Wood plugs from Rockler
- Some Tried and True stain
Tools
- Lie-Nielsen low-angle jack plane. My first plane!
- Gyokucho ryoba
- Black and Decker Workmate
- DeWalt hand drill plus a countersink drill bit from Rockler
- Pencil, ruler, marking knife
Notes
I made this one as an entryway bench for my apartment. The middle legs are both for support and to serve as dividers for shoes and storage crates.
The grain direction on the legs flows in a different direction than the top. Unappealing! I wanted this bench to be genuinely sturdy and comfortable to sit on but I wasn’t good enough at sawing to produce perfectly straight crosscuts. And I didn’t know how to use my plane or to square up an uneven cut. So I made use of the already squared edges and just turned the boards on their side.
I used walnut wood plugs for the contrast with the stained poplar. While there are many isssues with this bench, it is still sturdily in service in the present. I don’t know that it will hold up for the long-term, though.
June 2024
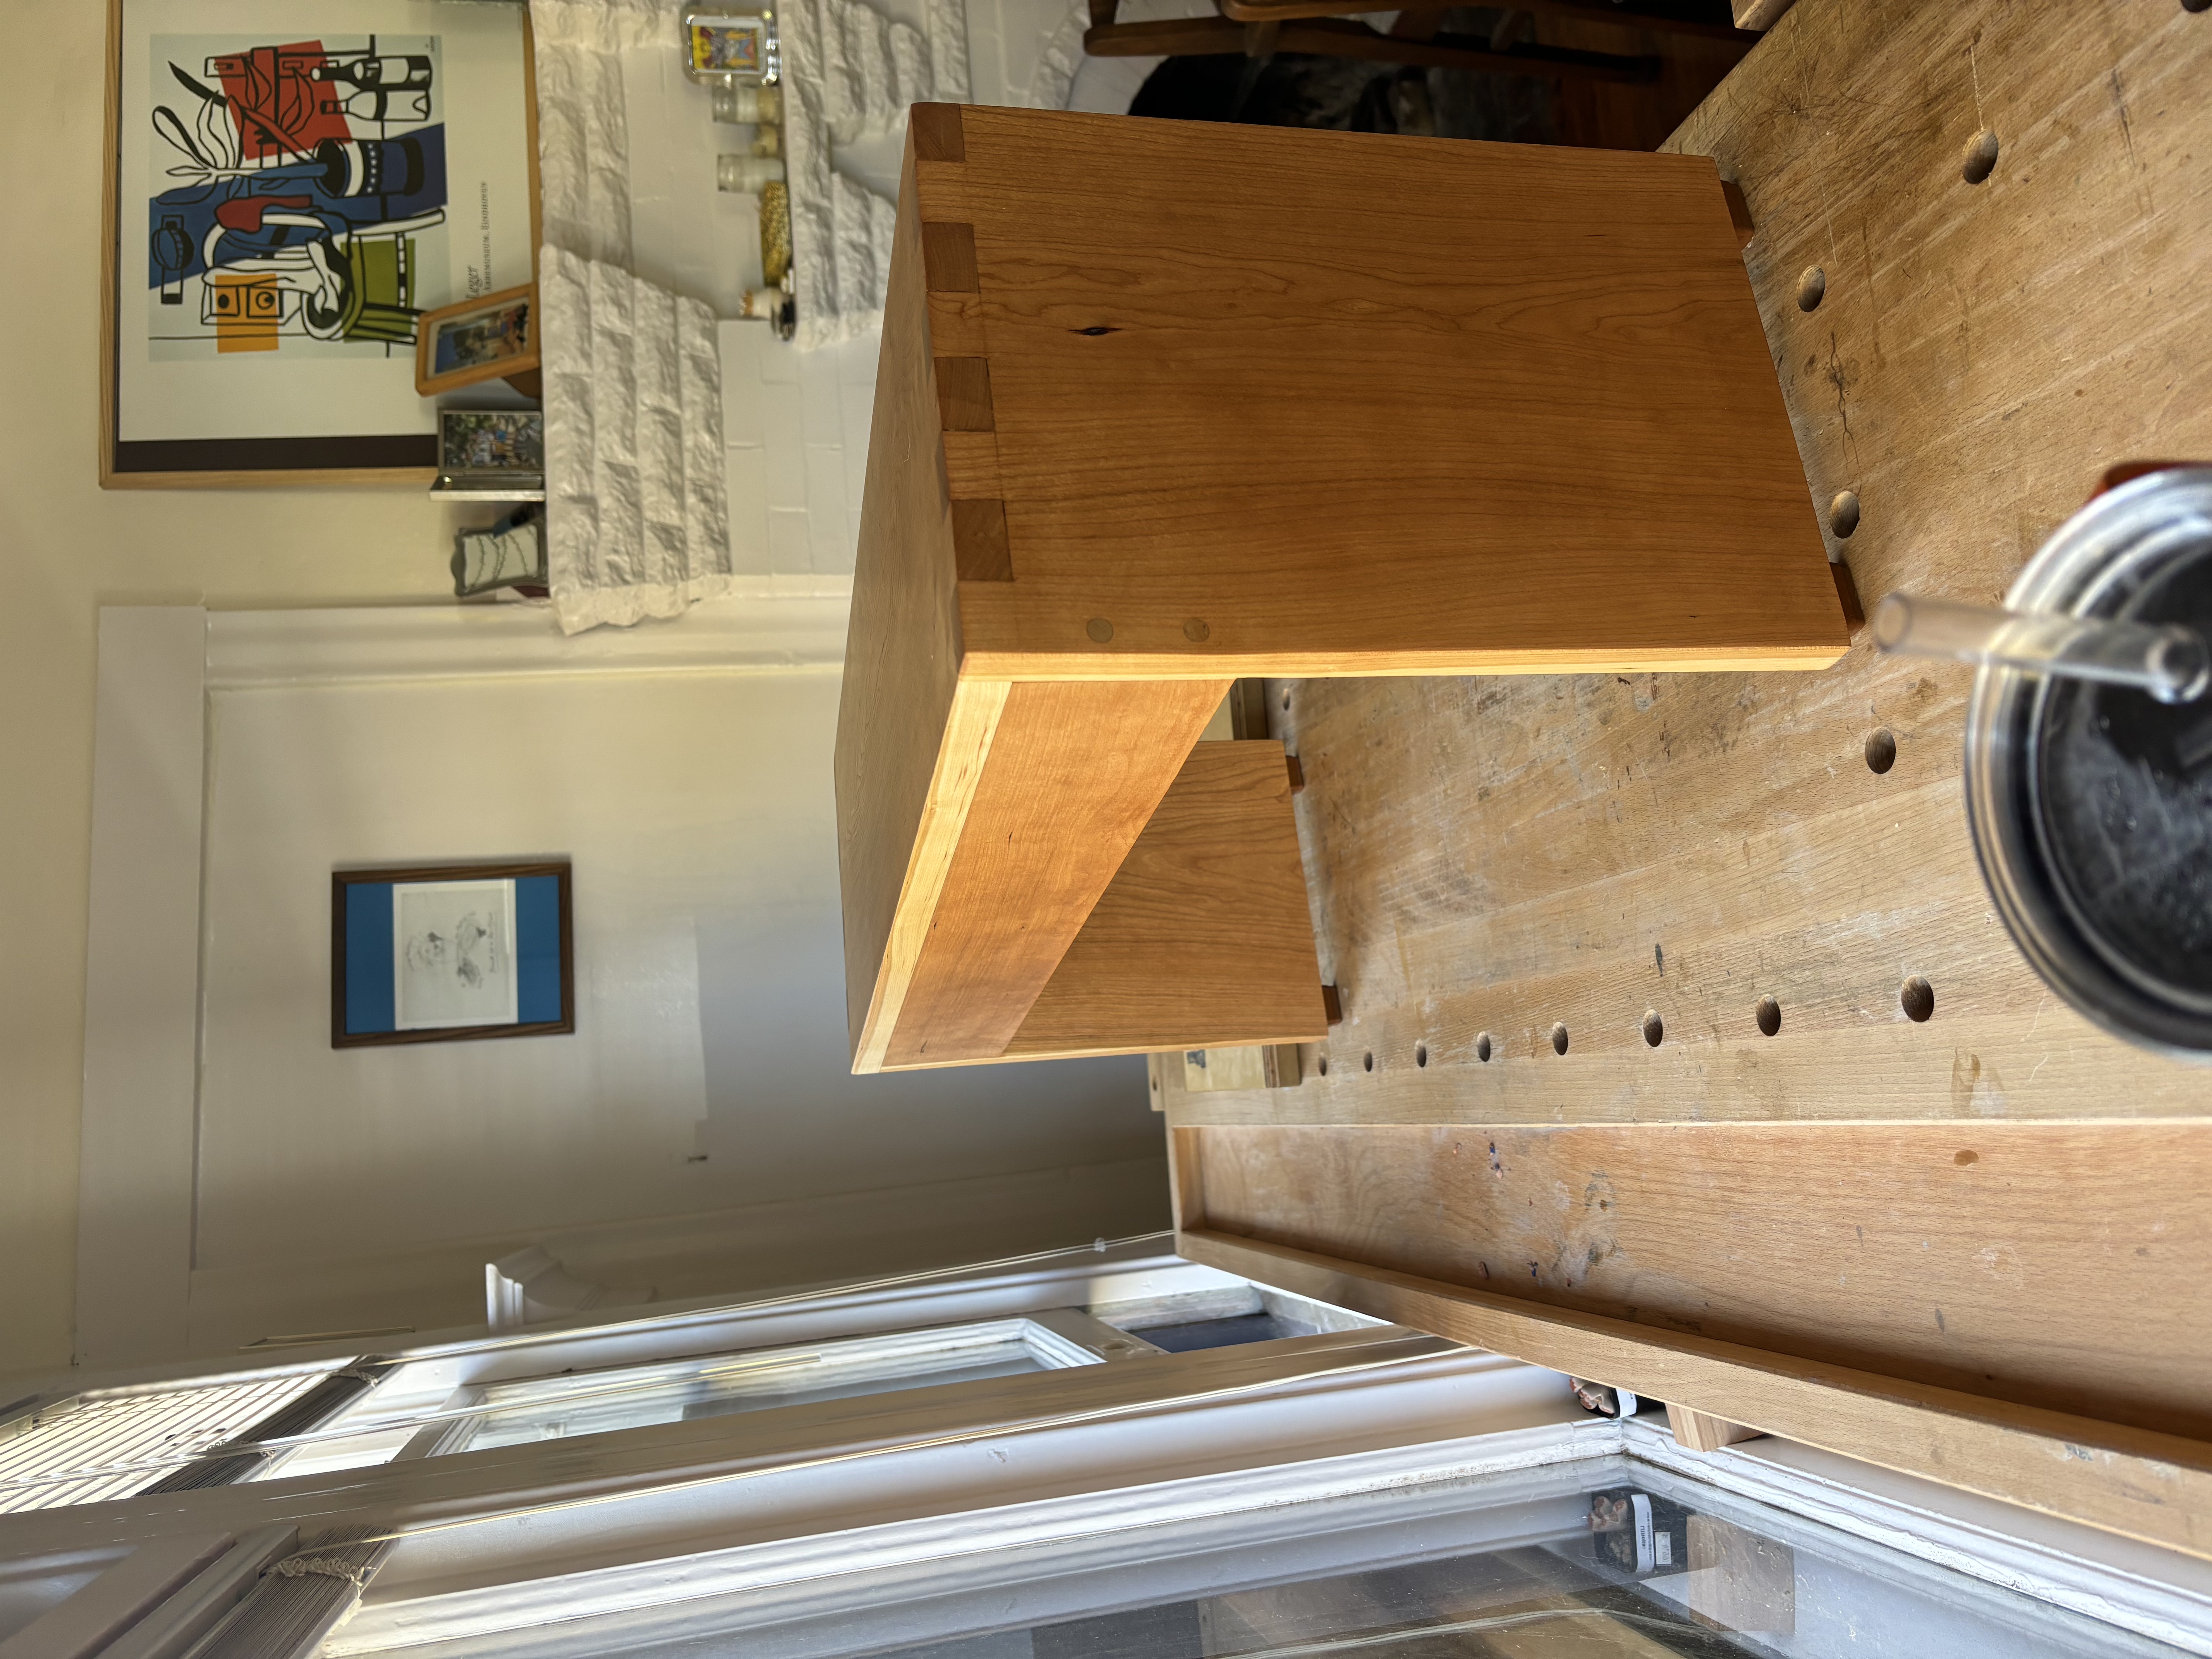
Materials
- S3S cherry from Moore Newton
- GRK screws
- Wood plugs from Ashby
- Odie’s Oil
- Blue titebond
- Self-levelling furniture glides (for the legs)
Tools
A lot of new tools came onto the scene in the year that passed between the poplar entryway bench and this one
- 48mm Japanese block plane
- Two Japense chisels
- Starrret 6” combination square
- Shooting board
- Marking gauge
- Lie-Nielsen low-angle block plane
- Lie-Nielsen low-angle jack plane
- Gyokucho ryoba
- Ramia workbench, a hand-me-down from a classmate at Laney
- DeWalt hand drill plus a countersink drill bit from Rockler
- Pencil, ruler, marking knife
- Clamps borrowed from the Oakland Tool Library
Notes
I made this for a friend’s new apartment. It is another entryway bench, perfectly sized for a little wall next to their front door. This is my first time using actual joinery (i.e. not screws) to attach the top to the legs.
I did use screws (w/ plugs over them) to attach the stretcher. I considered using a wedged mortise and tenon but I wanted to have the bench done in time for my friend’s housewarming party and I was too afraid of messing up and needing to buy more material and redo the box joints (which took me a non-trivial amount of time to get right).
I learned about clamping pressure on this project. I clamped the box joints REALLY tight. This took the bench slightly out of square and made it rock in an unpleasant way. I stuck self-levelling furniture glides on the bottom to address this and make it more stable.
Next
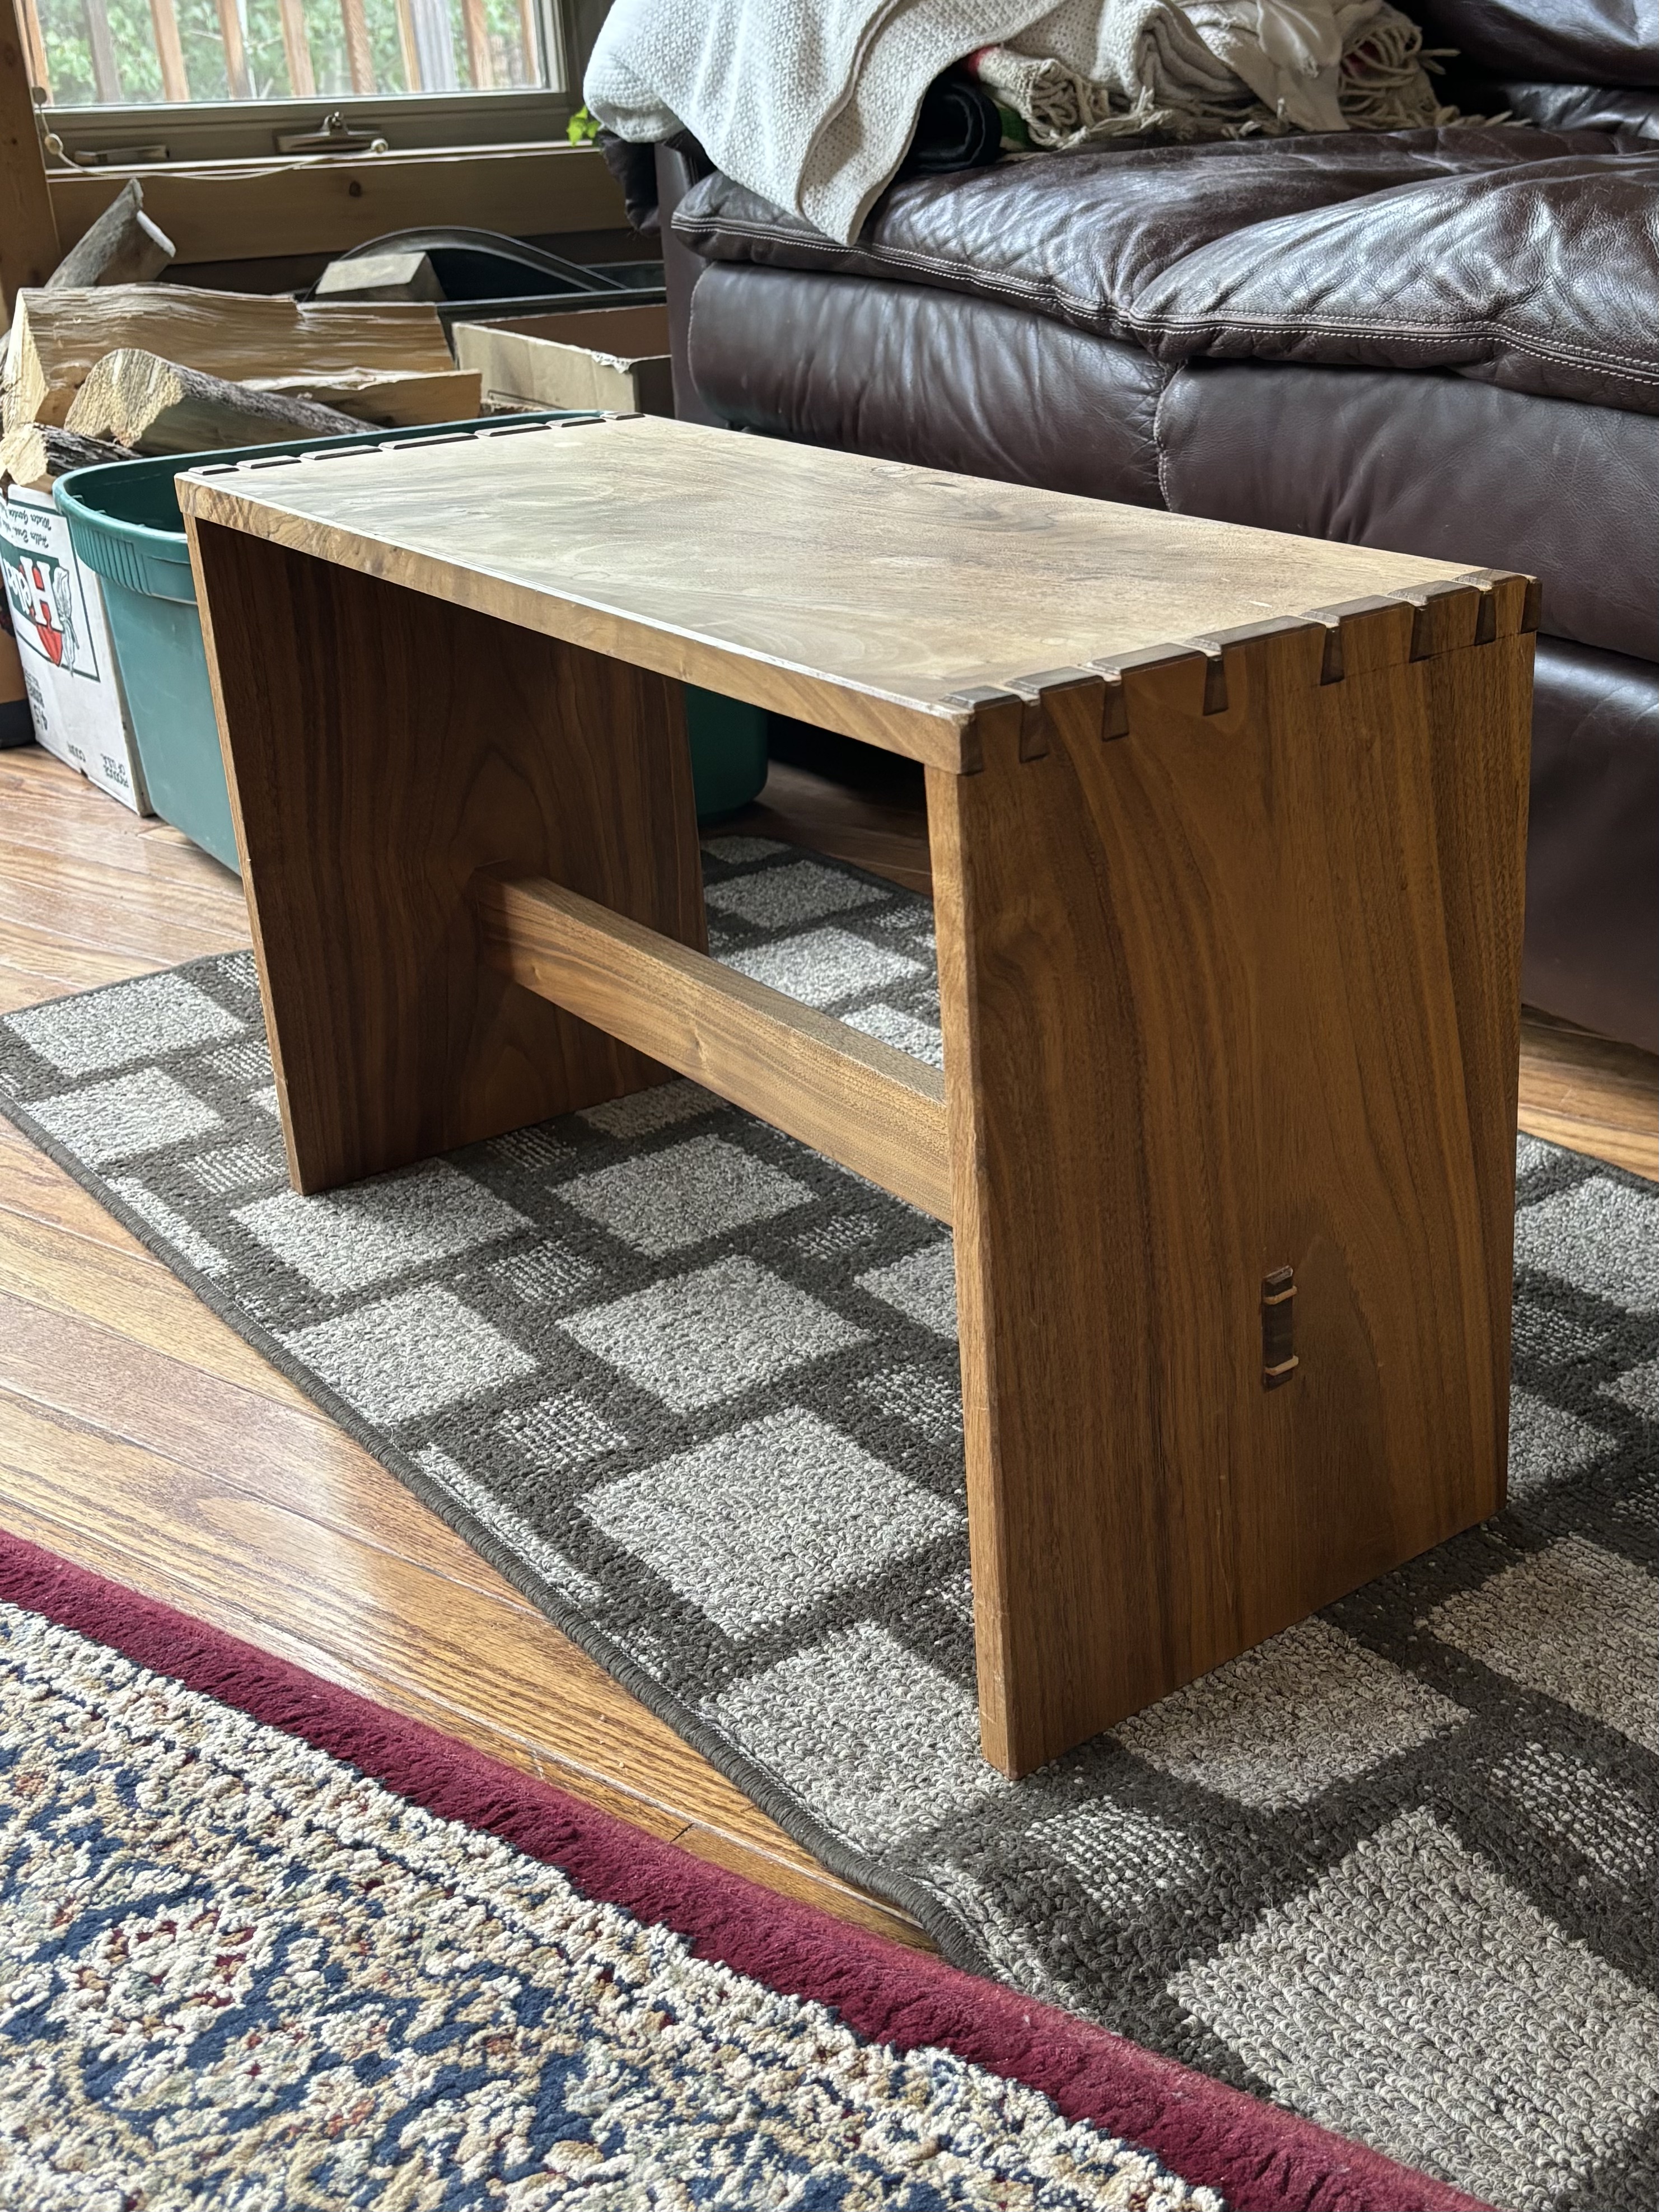
A few months ago, I visited the shop of Harv Mastalir, who is a friend of my dad’s and a very skilled craftsperson. A sweet bench in his living room caught my eye — the form, again.
The bench was a project for a basic woodworking class that Harv taught with Peter Korn at the Center for Furniture Craftsmanship in Maine. Harv kindly gave me a copy of Working with Wood, the book version of the class. So my next iteration on the form will be this one, joined with dovetails and (if I can summon the bravery), a wedged mortise and tenon for the stretcher.
In conclusion
This form isn’t quite as compelling to me now as it once was. But I do think it’s something I will return to — if for no other reason than to continue having it as a sort of stable reference point for growth.